La couture des élastiques est souvent source d’appréhension lorsqu’on se lance dans la confection de lingerie. Que vous suiviez un patron de lingerie pour une culotte ou un soutien-gorge, cette étape est plus simple que vous ne le pensez avec la bonne méthode.
Avant d’aborder les techniques d’assemblage, voici quelques points à prendre en compte pour toute pièce comprenant des élastiques.
- Employez systématiquement le type d’élastique et la largeur préconisée par votre patron.**
- Mesurez la largeur des élastiques sans compter la partie décorative (festons, picots …)
- Pendant la couture, il est important »d’étirer » les élastiques pour éviter que vos coutures baillent. Be careful not to put tension on the fabric underneath.
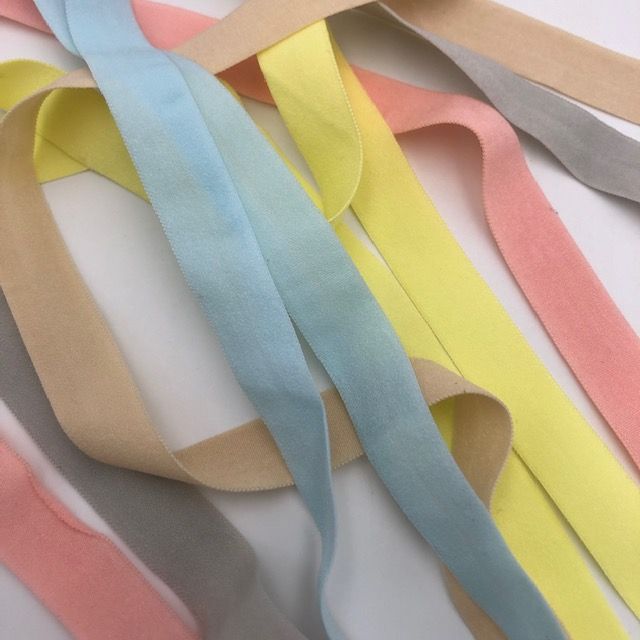
** Nous avons rédigé un article spécifique sur les élastiques. Il vous permettra d’identifier les différents types d’élastiques utilisés pour la création de pièces de lingerie ainsi que leur application. Il y a de quoi perdre le tête lorsque l’on voit la variété d’élastiques que l’on peut trouver!
Let's get practical!
How to determine the length of elastic bands to apply
Tout comme les tissus extensibles, les élastiques possèdent un pouvoir d’étirement. Pour toutes vos pièces de lingerie, culotte … je préconise de réduire l’élastique de 5-7% par rapport à la longueur du tissu sur lequel il doit être cousu..
Why not take more? The risk is that the garment will quickly become uncomfortable. The pattern has already been made with a reduction coefficient, for example 8% for knickers and 12-15% for a swimming costume.
L’élastique devra déjà s’étirer d’au moins 8 – 15% + l’étirement nécessaire pour pouvoir enfiler le vêtement + les 5-7% de réduction appliqués à la pose. You can take more than 7%; the fabric will be 'more' gathered, but be careful not to stretch the elastic too much - or you'll end up wearing it too tightly.
Using a tape measure, measure on the pattern the different lengths of the pieces to which the elastic will be applied. I advise you not to measure the lengths directly on the fabric, as some textiles deform very easily (especially stretch fabrics), which can significantly distort the result. With a little practice, you'll soon be able to work out the tension to apply to your elastic as you sew it on.
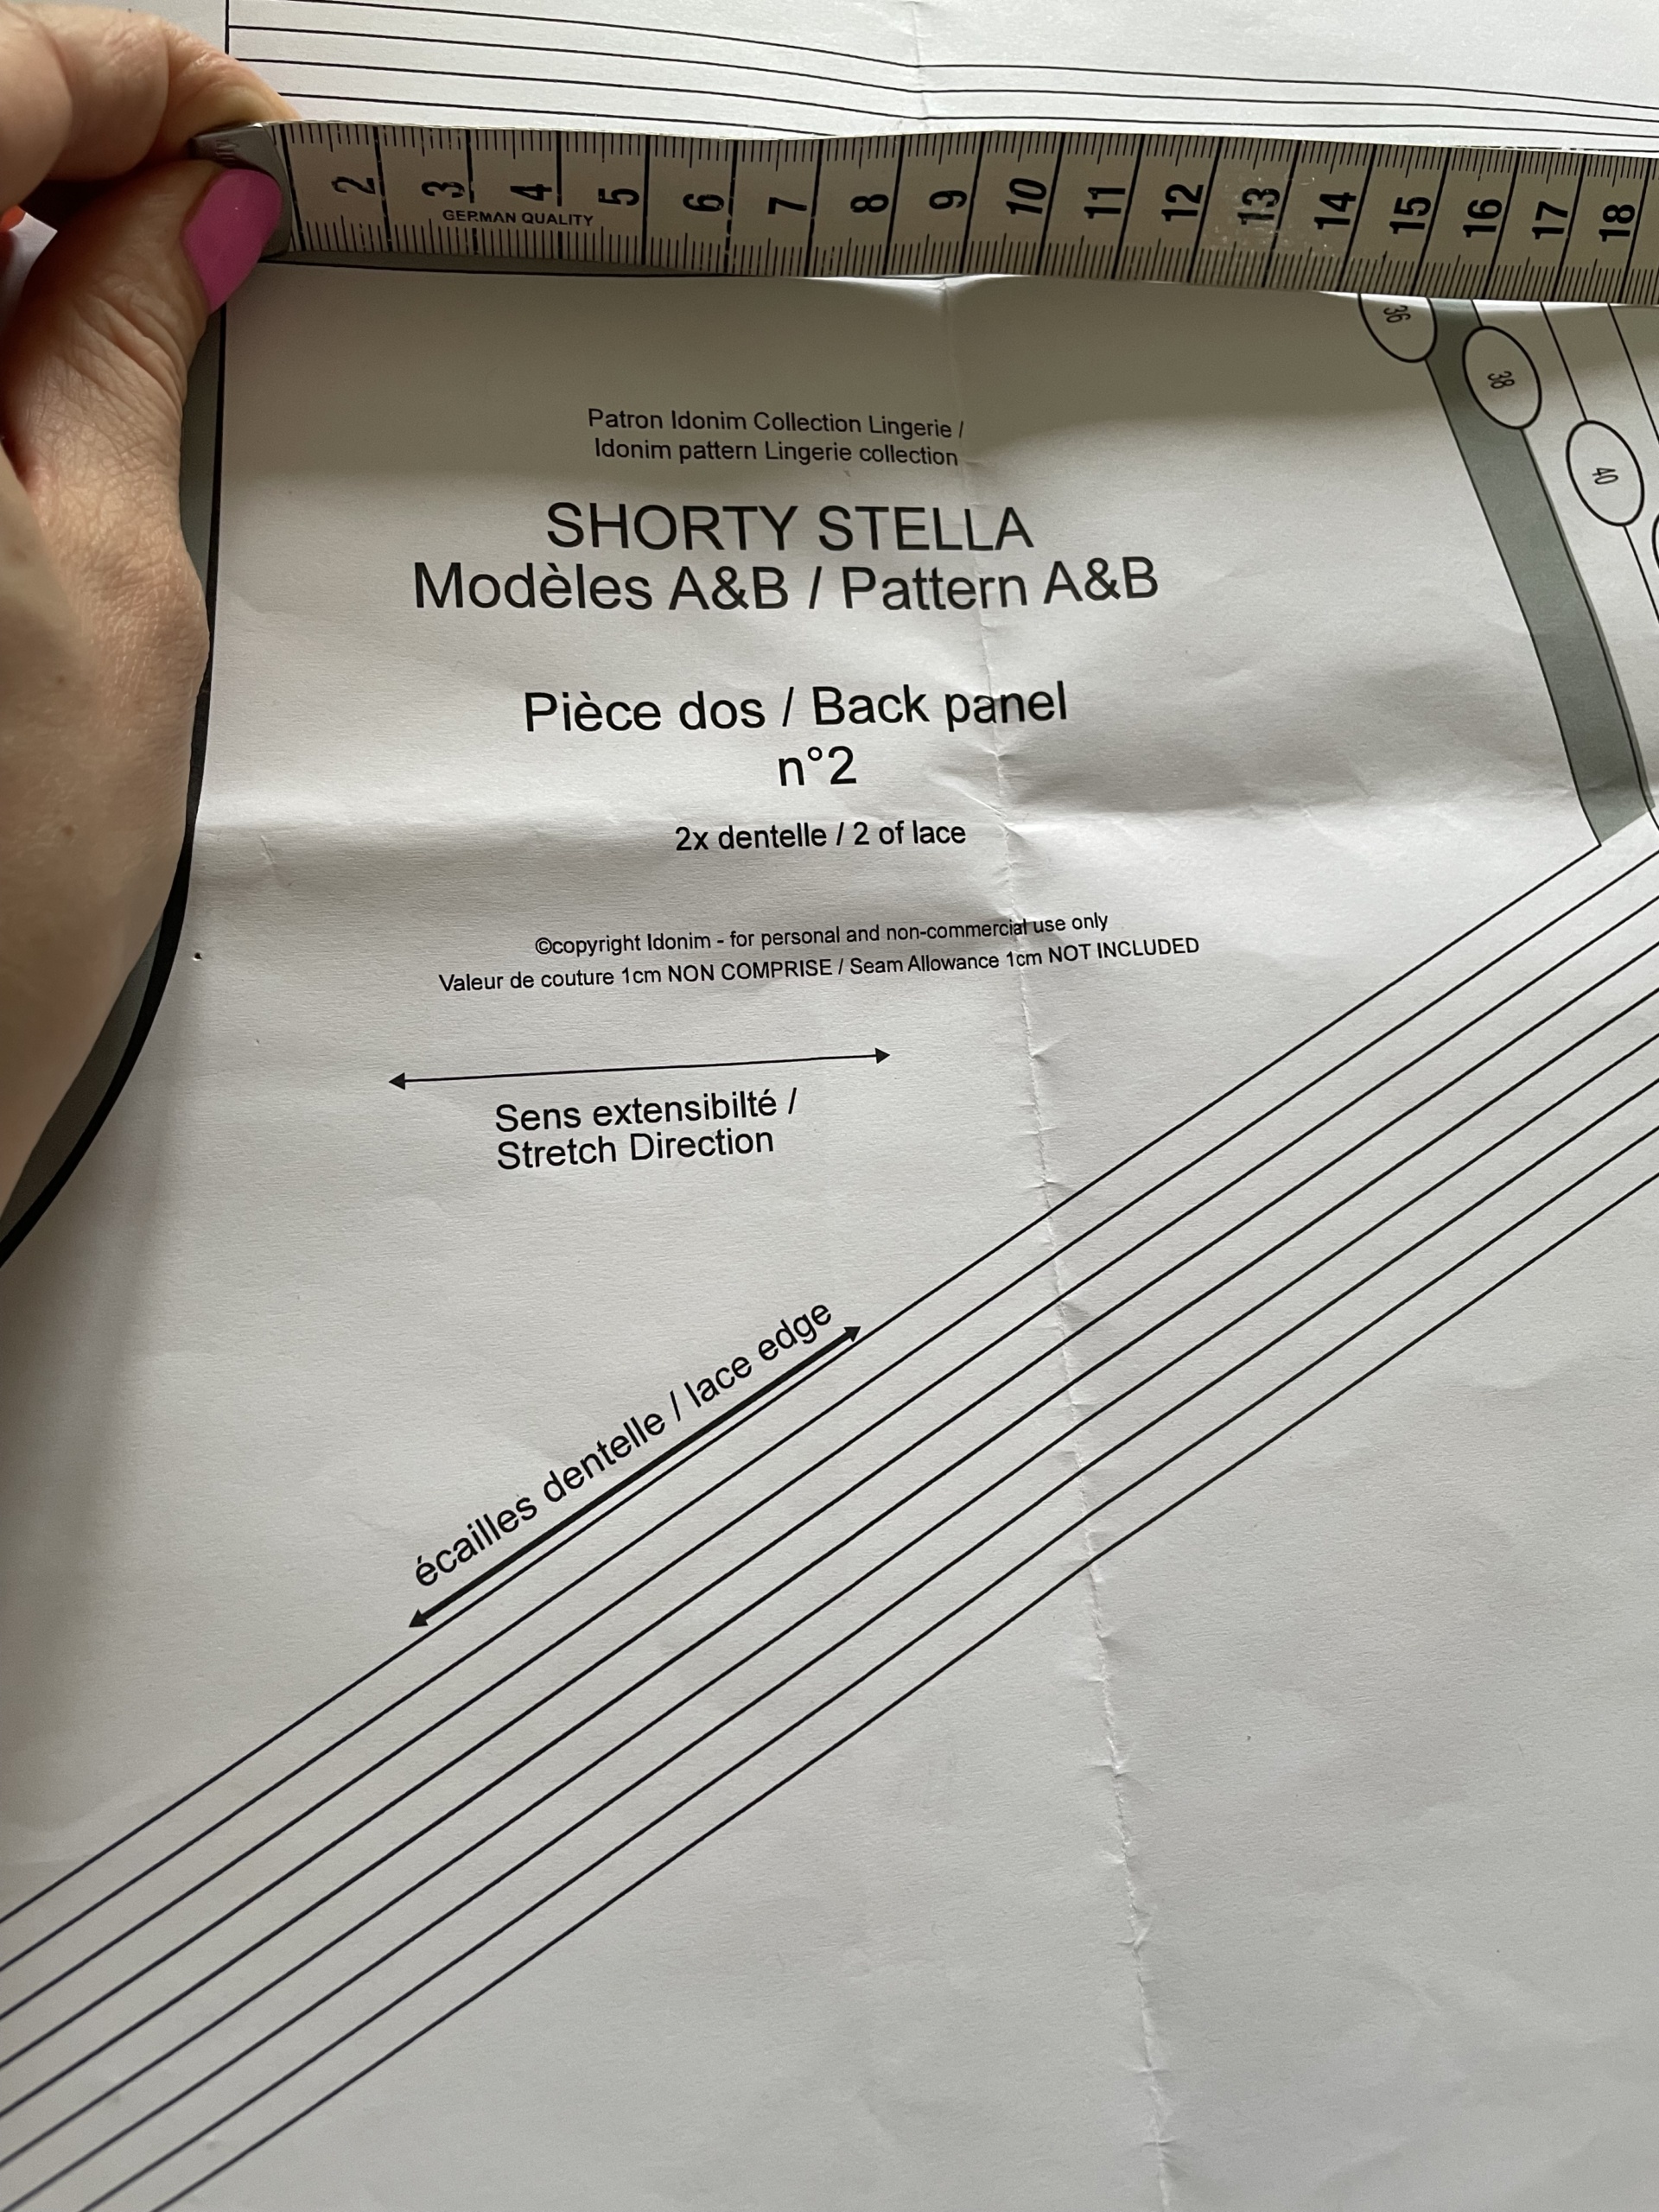
- To reduce the length of a 7%, proceed as follows:
Length of elastic in cm = measured length in cm X 0.93
Cut the elastic to the calculated length, adding the seam allowances at each end.
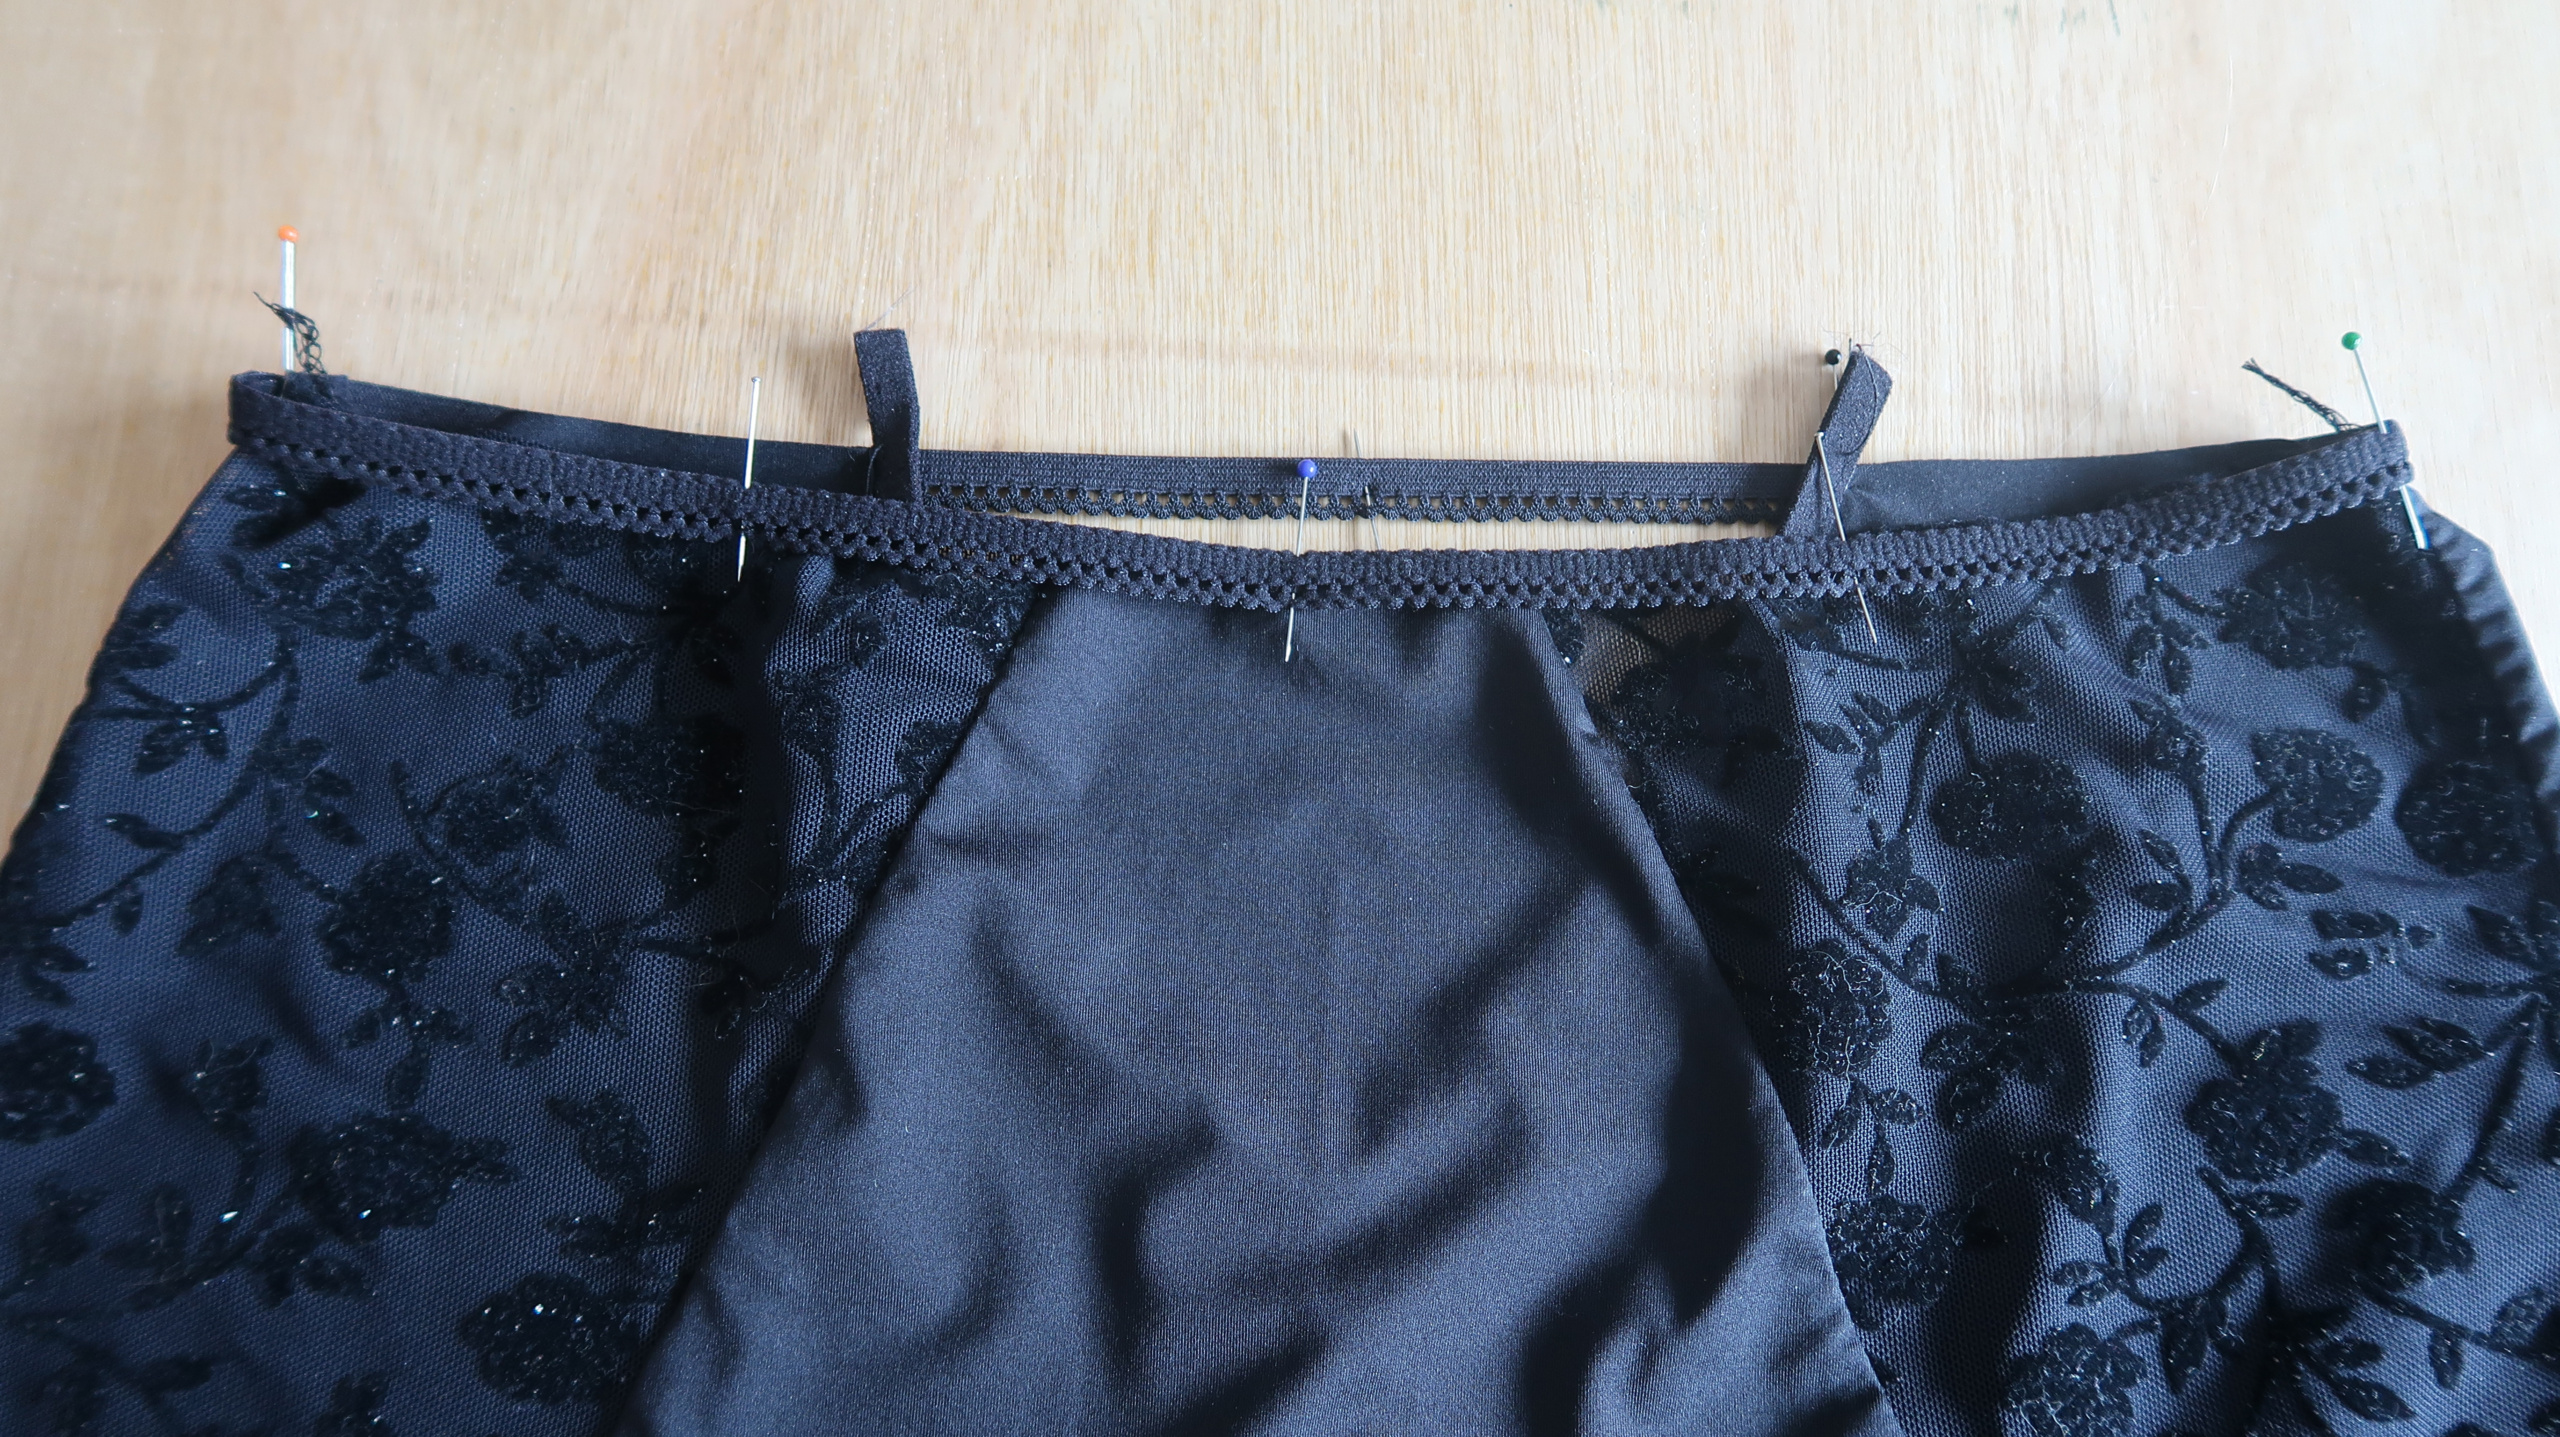
Coudre les élastiques décoratifs (à picots, festons …)

- Les valeurs de couture à appliquer devront correspondre à la largeur de l’élastique sans les picots ou festons.
- Mesurez et coupez la longueur d’élastique nécessaire.
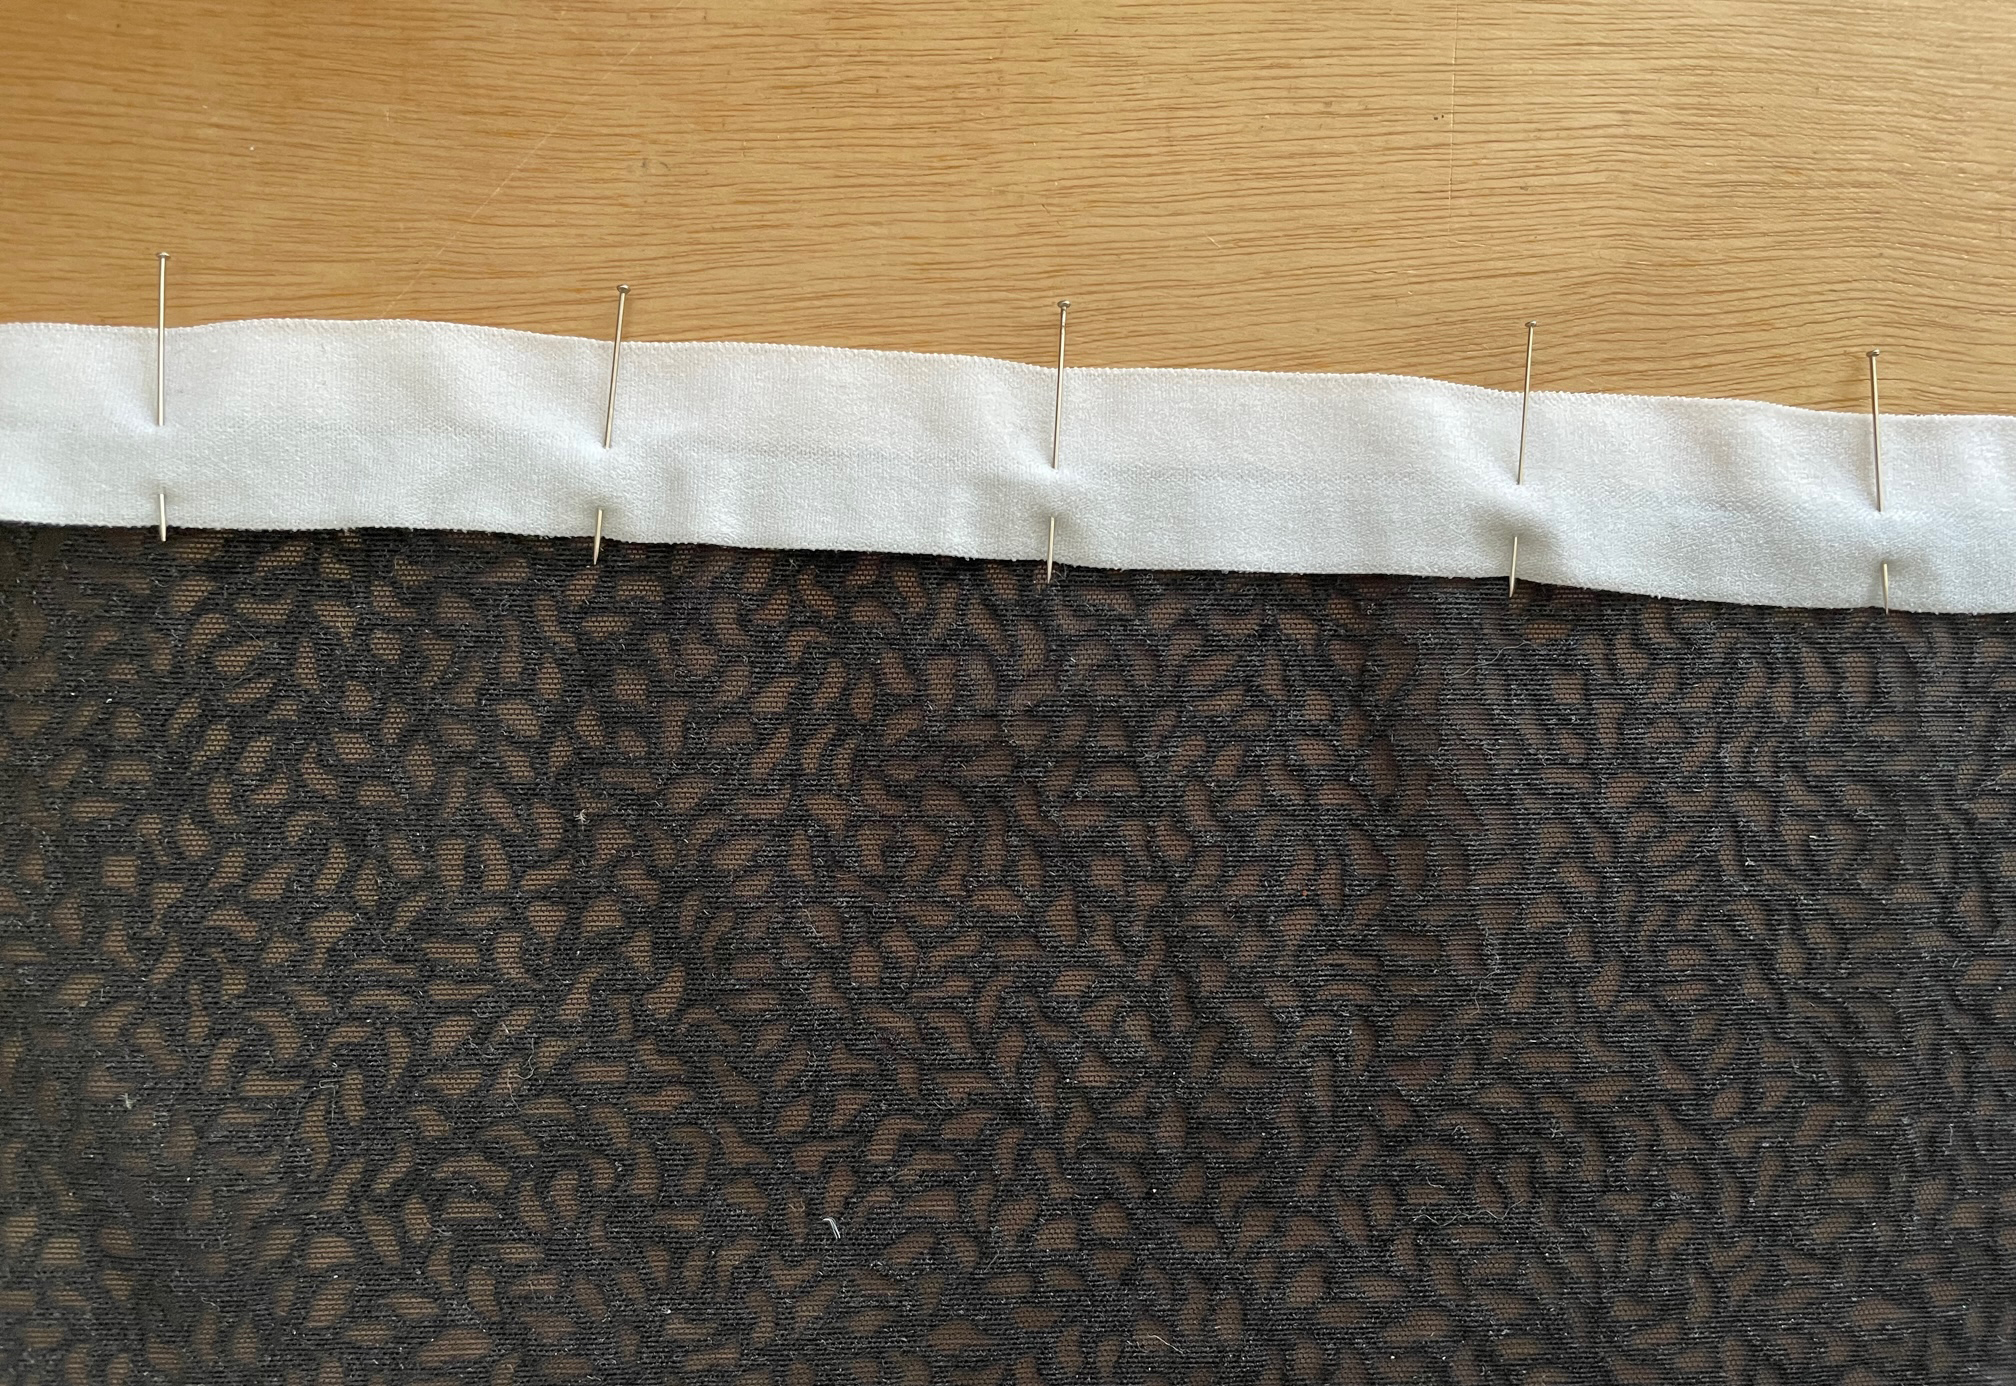
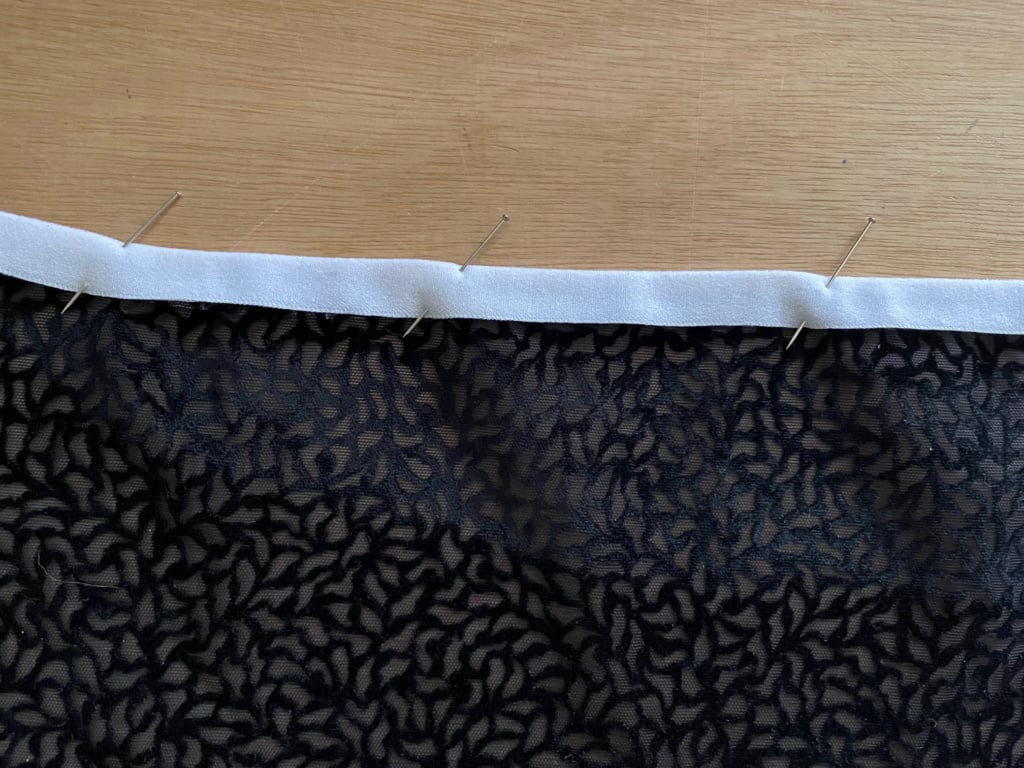
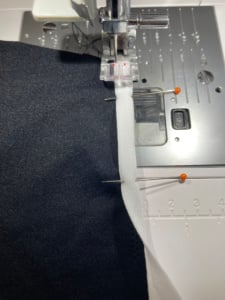
- Positionnez et épinglez l’endroit de l’élastique contre l’endroit du tissu répartissant l’embu* de façon homogène. Si l’élastique possède un côté doux, il s’agit de l’envers. Attention à l’orientation des picots (voir photo ci-dessous).

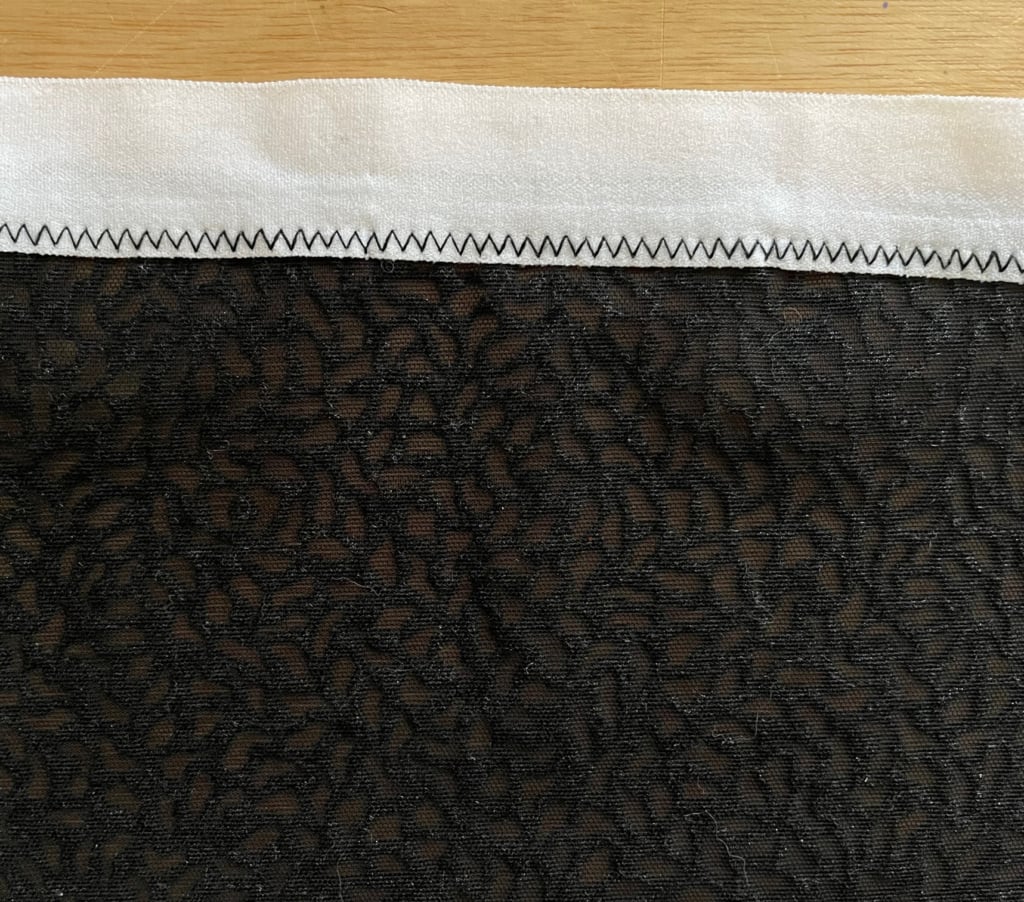
- Assemble the elastic with a zig-zag stitch, sewing flush with the pins.
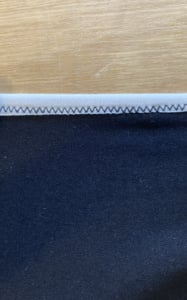
- Si besoin, coupez le tissu qui dépasse de l’élastique pour obtenir un envers de l’ouvrage parfaitement propre
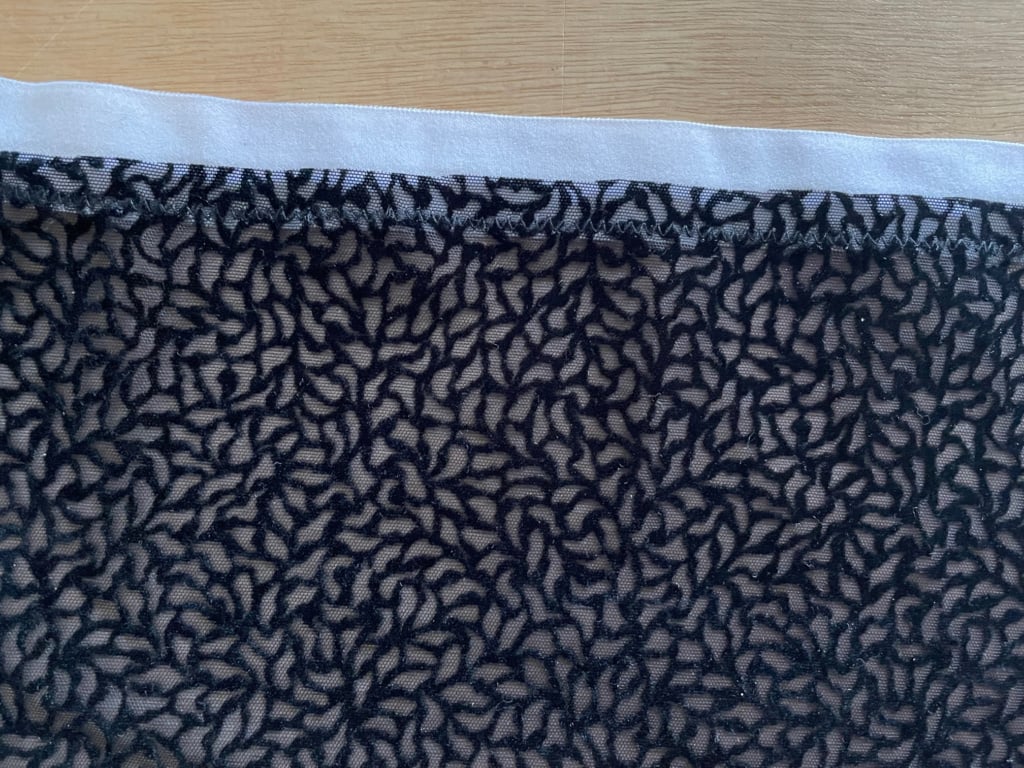
- Rabattre l’élastique sur l’envers
- Sew a second zig-zag stitch (or 3-stitch zig-zag) along the edge of the elastic (edge without pins).
Coudre les élastiques de type cavalier/fold over …
Ce type d’élastique peut se coudre en 1 ou 2 étapes.
1-step assembly
Un montage en 1 temps permet d’obtenir une jolie finition. Les finitions seront identiques sur l’endroit et l’envers de la pièce; elle demande plus de doigté que la méthode en 2 temps.
- Il n’y a pas de valeurs de couture à appliquer – valeur de couture = zéro.
- Positionnez l’élastique, straddling the edge of the fabricspreading out the embu, then pin in place.
- Sew with the zig-zag or stretch stitch sewing machine.

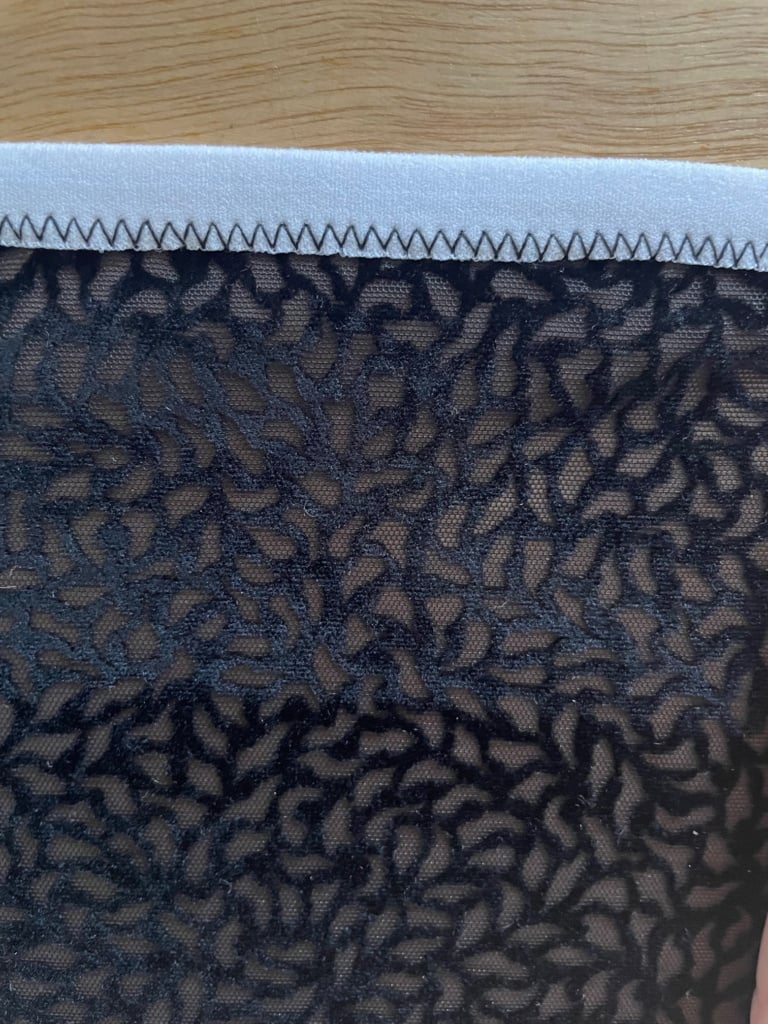
2-step assembly
- Superposez l’élastique cavalier sur le tissu back to back aligning the edge of the fabric with the longitudinal fold in the middle of the bias.

Sew the 1st seam with a zig-zag stitch 2 mm from the fold without going beyond it.

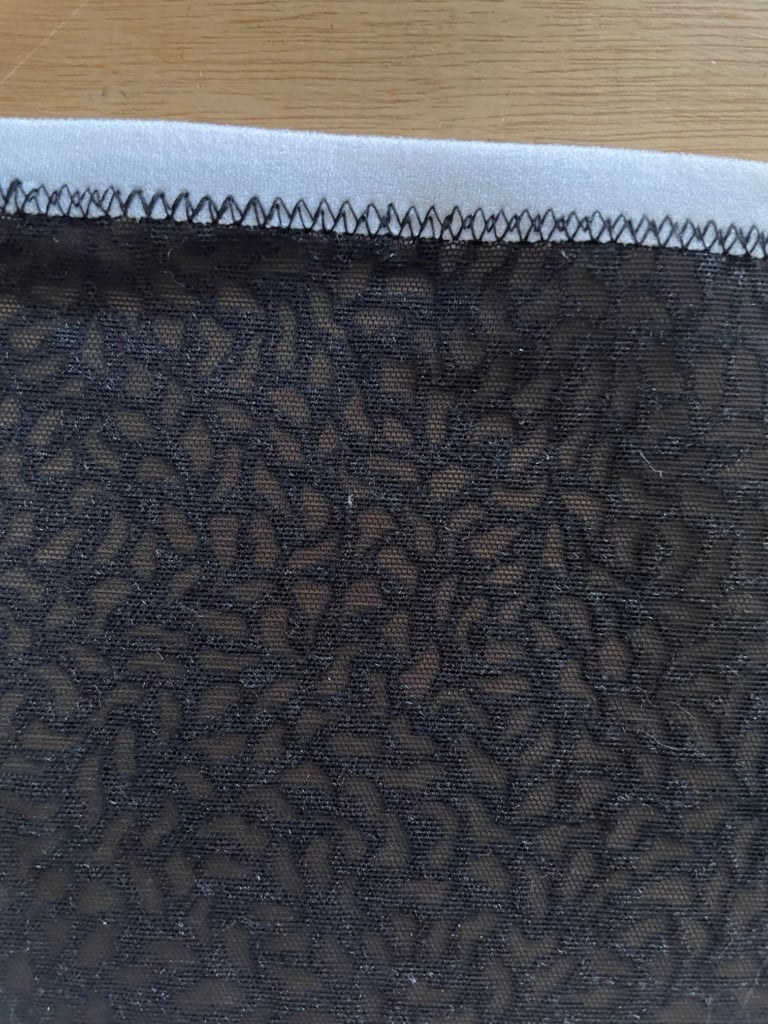
blog couture élastique cavalier blog couture élastique cavalier Fold the bias back onto the right side of the work, then sew a 2nd time using the zig-zag stitch.
blog couture élastique cavalier blog sewing elastic with pimples blog sewing elastic with pimples It's up to you!
Test on samples before sewing your elastics for good. I also advise you to make a note of the settings you use so that you have reference points in case you forget the next time you sew. Be aware that the type of fabric will have a significant impact on the settings on your machine.