 English
  French
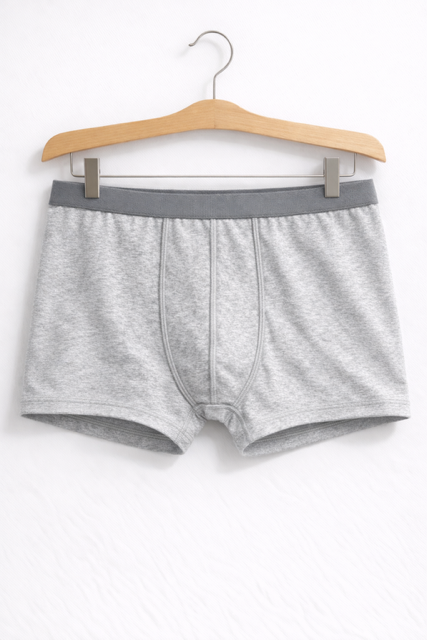
Clean finish with a simple sewing machine (no overlocker or coverstitch machine)
Introduction
Achieving a clean, strong, and professional finish on men's boxer shorts is entirely possible with a simple sewing machine.
The key lies in good preparation and a mastered assembly method.
Step 1 — Measure and calculate the length of the elastic
Mesurez le tour de taille du boxer : mesurez directement la ligne supérieure du patron (n’oubliezz pas d’ajouter la pièce formant la poche).
Remove approximately 5 to 7 %.
Add 1 cm of overlap at each end for assembly.
👉 Example:
Length measured on the pattern = 80 cm
Elastic = 80 × 0.93 (7%) = 74.4 cm
+ 2×1 cm = 76.4 cm
Step 2 — Close the elastic
Overlap the two ends 1 cm.
Stab at Tight zigzag stitch with your sewing machine, making two back-and-forth stitches to reinforce the seam
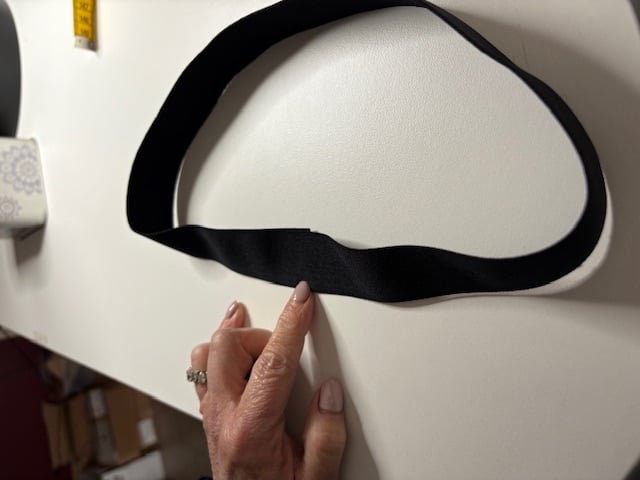
Step 3 — Mark the landmarks
Divide the elastic in 4 equal parts.
Do the same on the top of the boxer.
Pin or notch.
Goal: to distribute the filling evenly.
Step 4 – First Stitch (Assembly)
Place the elastic band against the wrong side of the fabric (wrong side elastic against wrong side boxer).
Match the markers.
Gently stretch the elastic between each marker.
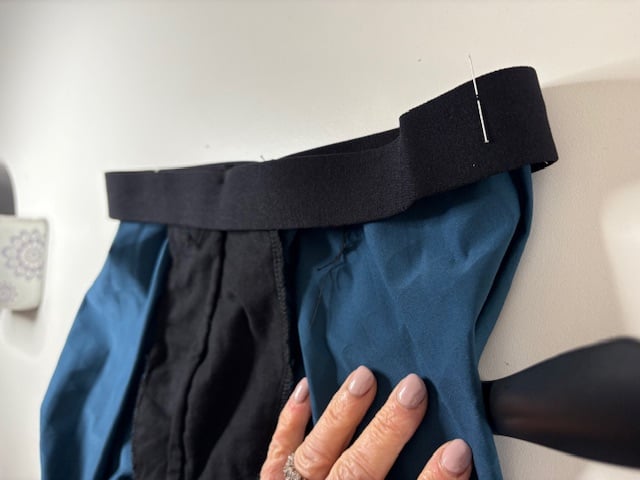
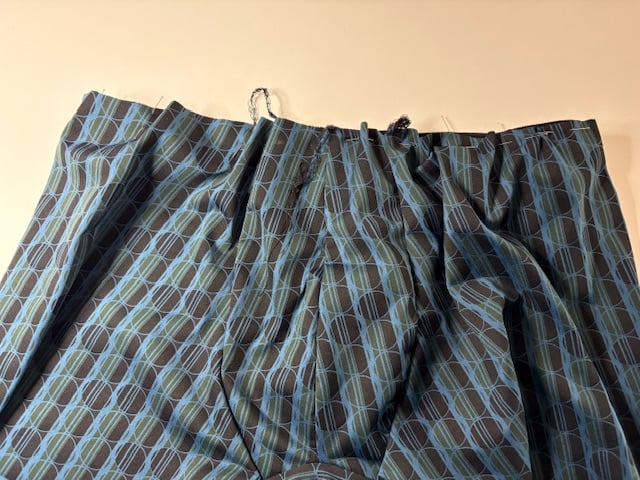
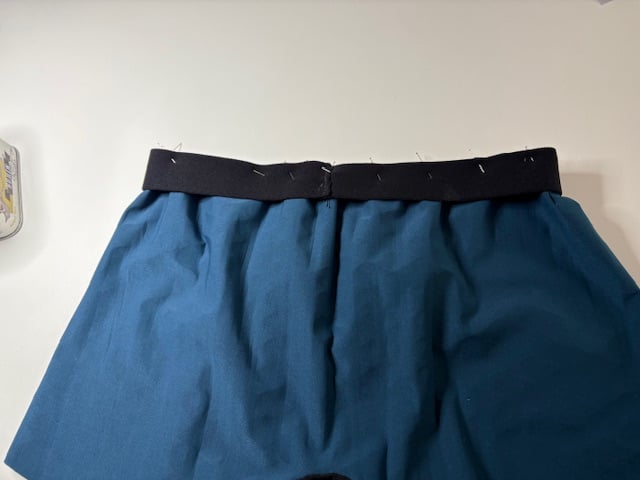
Assemble 1 cm from the edge with:
one Point stretch
length maximum Stretch stitch: makes sewing easier and the stitch will visually be comparable to a straight stitch.
Step 5 — Trim excess seam allowance
Trim the excess fabric flush with the seam.
👉 Résultat : aucune surépaisseur inutile , aucun tissu ne doit dépasser du bord de l’élastique → finition plus nette.
Step 6 – Fold down the elastic
Return the elastic to the boxer shorts.
It comes to cover the previous seam.
Step 7 — Topstitch
Perform a topstitch on 2 mm from the bottom edge of the elastic and approximately 5 mm from the previous seam line.
Still at the stretch point.
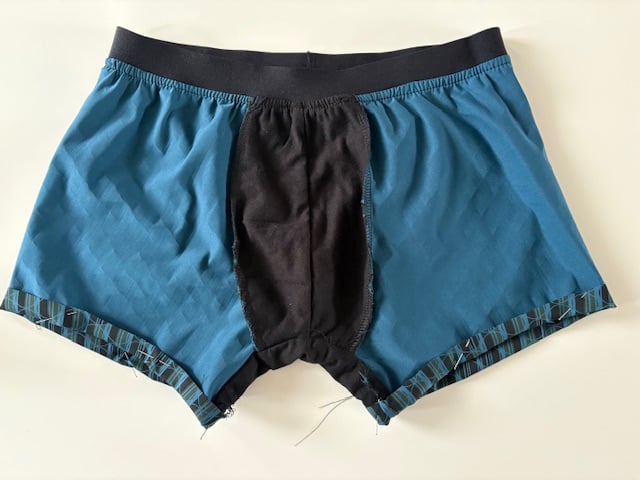
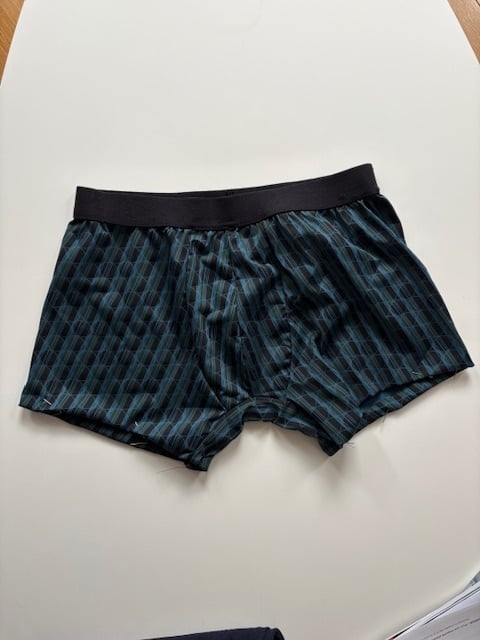
Precision tip:
Stitch from the area for a flawless visual finish.
Final result
On-site:
two regular parallel lines
Clean and professional finish
✔️ On the wrong side:
no excess thickness
no unsightly visible excess stitching
Clean finish, high-end ready-to-wear type
Conclusion
With this method, you get a finish Clean, comfortable and durable, without industrial equipment.
This is an ideal technique for your boxers made on a classic machine, while maintaining a premium quality level.
Retrouvez l’ensemble de nos elastic bands Large selection in the shop for all your boxer projects.
À vous de jouer ! Et n’hésitez pas à partager vos réalisations avec nous. 🪡